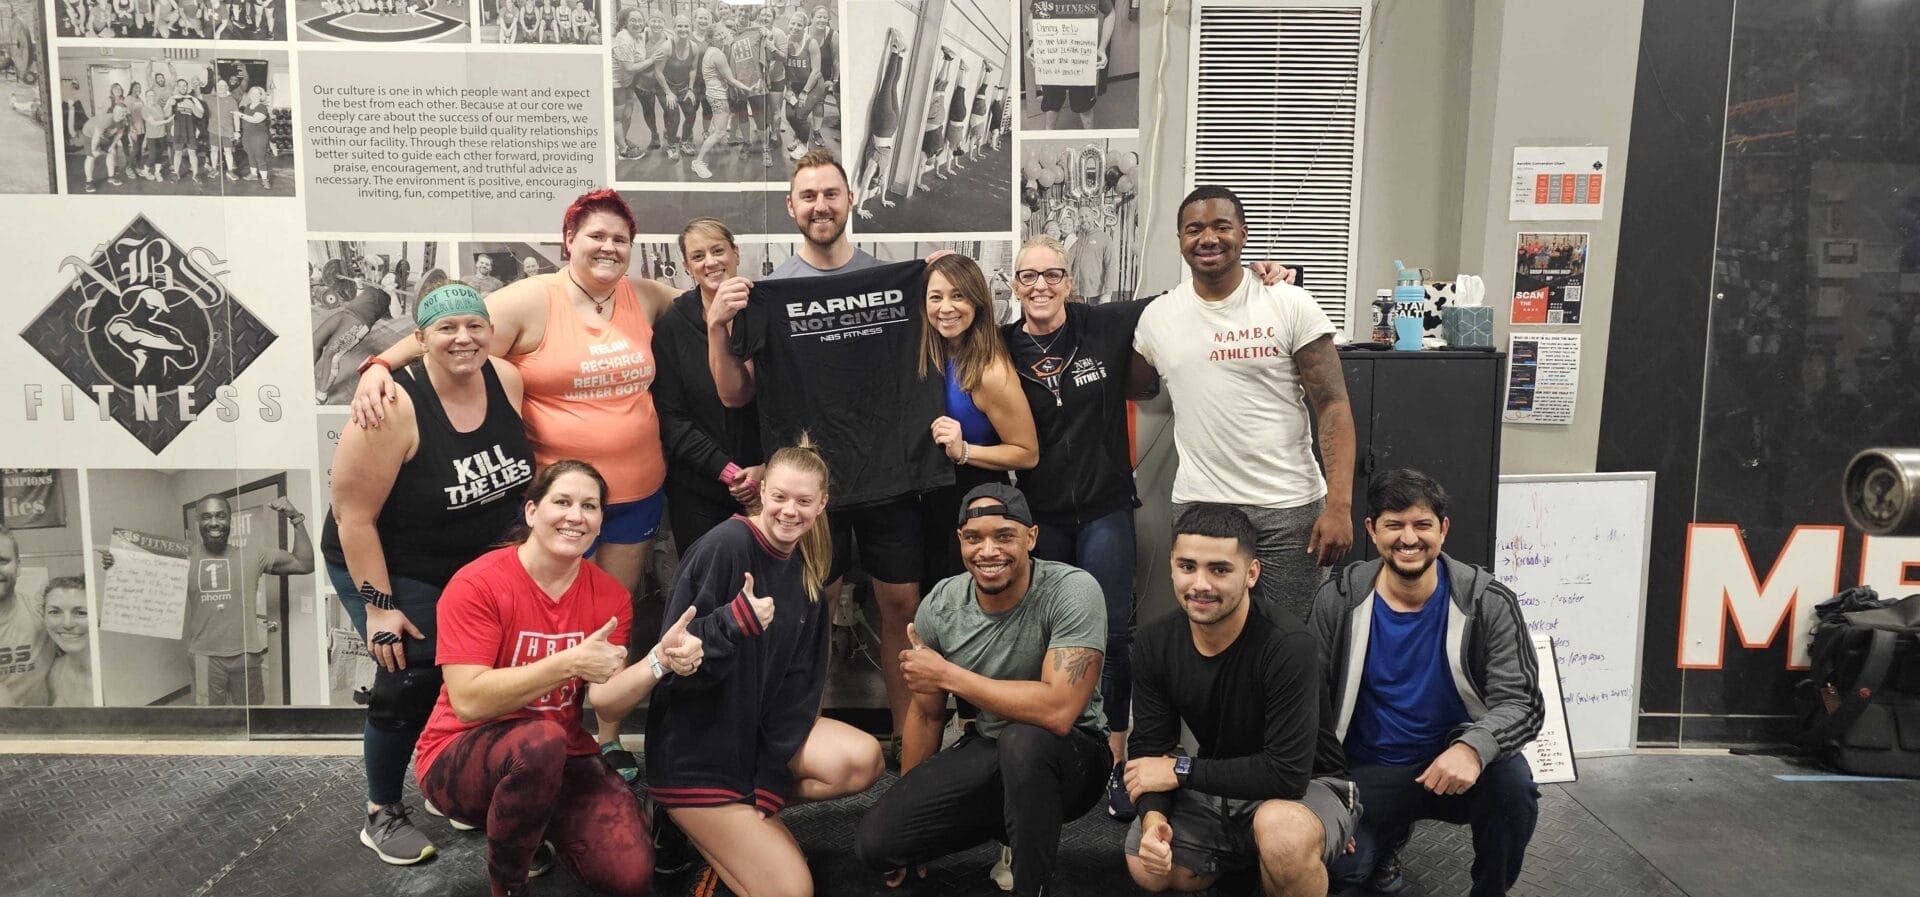
Bands & Chains Holding me down!!

How to Use Bands and Chains for Accommodative Resistance

The concept of accommodative resistance can be explained as “the increase of resistance while lifting through a range of motion” (Medical Dictionary for the Health Professions and Nursing. (2012)). This can be accomplished by using bands or chains to increase tension/weight at the lockout of a lift or a decrease in tension/weight at the bottom end of a lift. In meathead terms, the closer the bar is to the ground (or other connection point), the lighter it is; the further from the floor, the heavier it is. So with these very basic principles in mind, we are going to discuss how to set-up bands and chains for the “big three.”

Chains:

Depending on your height and limb length, these can get tricky. The goal with chains is we want AT LEAST one or two links dragging on the ground when we are locked out (top of lift) and all of the links on the floor in the bottom position of the lift. There are different rings on the EZ Bar Loaders which allows height adjustment. The ends of the chains are held together by carabiners which can be used to fine-tune the length by “choking up” chain links (for shorter lifters like myself). This will take some, “test and tuning” while dialing in the proper height.

At NBS, each chain weighs about 20lbs. This means that there is a tangible amount of weight being taken off the bar and added to the bar with each rep, so be sure to check with your coach and see if they are worried about the actual chain weight or number of chains before just slapping them on. Always work up to your working weight while using chains. A bad training day is waiting to happen if you work up to your top set THEN add your prescribed chain weight to the bar.

Bands:

Let’s get this out of the way on the front end: bands suck. They suck really bad. The amount of strain on your CNS is greater with bands than with chains and you can potentially ruin your world if you create an over-excess of band tension. There are probably a dozen different ways to implement bands but we will stick to a novice/intermediate introduction and setup.

One major difference between these two forms of accommodative resistance is that bands add a percentage of weight (resistance) through tension. We never want the tension to fully leave the bar at the lowest point. This means we always have an added form of resistance working against us in addition to the bar weight. So to set these up, we will need two pins placed at least 2 holes apart. We will start the band on the pin (which will be directly under our bar path) we will call this “pin 1”. Run the band from pin 1 back toward’s “pin 2” which will be the pin furthest away from us and our bar path. After wrapping around pin 2 come back to pin 1 wrap under then directly up to the bar. Be sure to check with your coach as some have different ways to set these up.

Reminder

As always, ask an orange shirt if you are not sure how to implement the equipment. Better safe than sorry. Do not try and figure out the “weight” bands add to your lift, you will hurt to many brain cells, and the calculation will still be a loose estimate at best for your social media video. Implement these tools for awesomeness and watch your strength increase. Last but not least, PLEASE don’t leave these forms of accommodative resistance laying around the floor of the gym after you finish training. If you’re are strong enough to use them on a lift you are strong enough to put that shit away!


Related Posts

Leave a Reply